


Ruckus Cloud is a cloud-based Wi-Fi network management tool with AP-based licensing and maintenance fees. European users can choose EU based cloud to keep data in the EU. The Cloud is suitable for users who need to manage networks in multiple locations, such as restaurant chain, and who do not want to set up and manage their Wi-Fi network controller. Instead, you can log in to the web environment or use mobile app.
We tested with 60-day trial version of Ruckus Cloud.
When you receive a license, there is a link to activate it that directs you to log in to the Ruckus page first and then to the license activation environment. Once this is done, you can click on the 'Cloud' on the top of the page (you can select the region with hover) and you will be redirected to the Cloud. The username / password is the same as when logging in to the Ruckus page.
First page is related to licenses and cloud account:
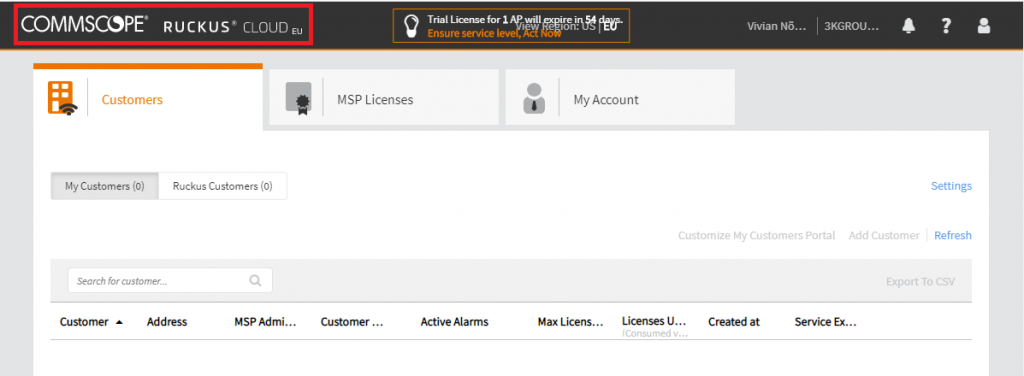
Click on the CLOUD at the top left to move on.
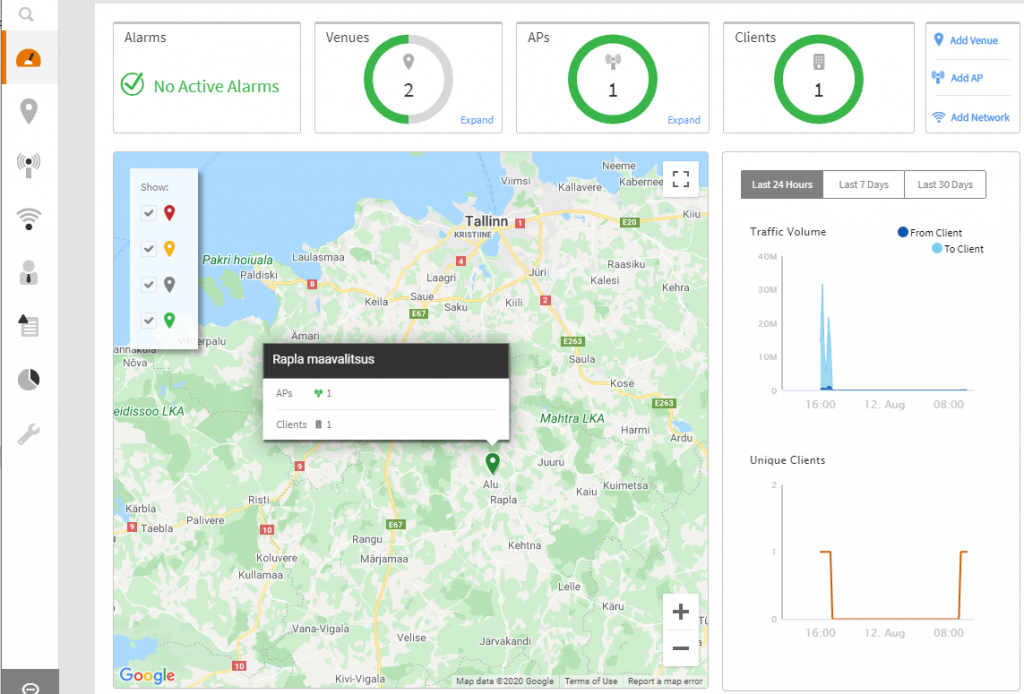
The Dashboard is the home page where you can see your APs on the map, their status and statistics. Screenshot is taken when one AP is already active in the cloud management.
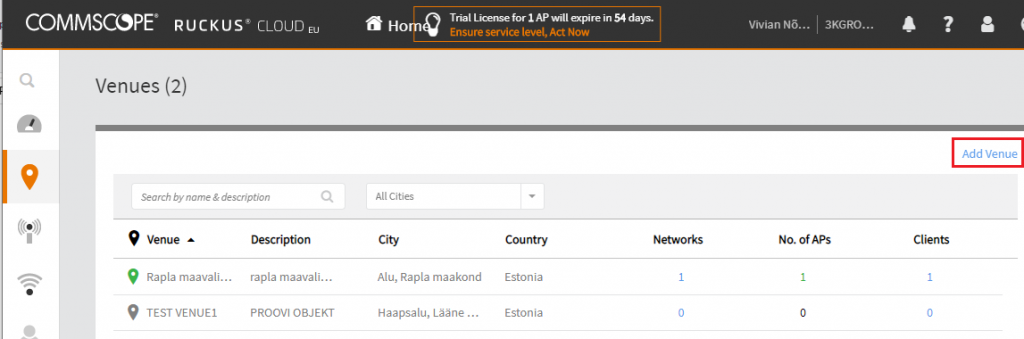
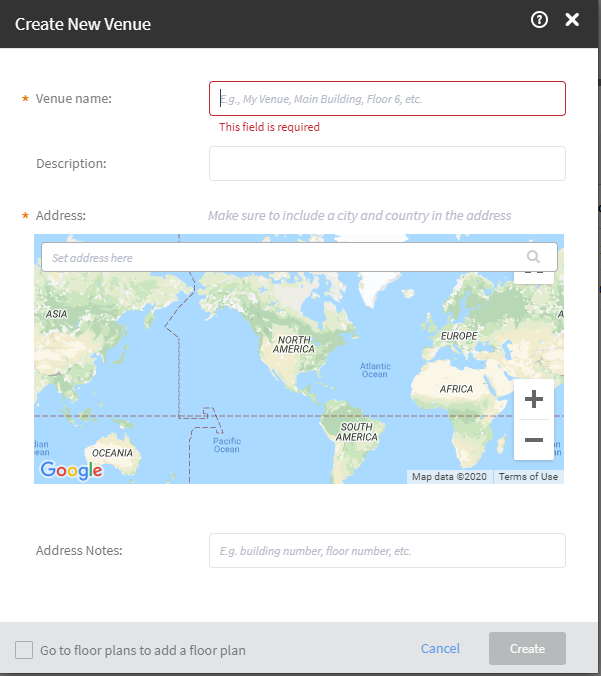
To start, you need to set 'Venues' on the left edge. In our example, Rapla county, Alu. You can add a new location from the top right by clicking on 'Add Venue'.
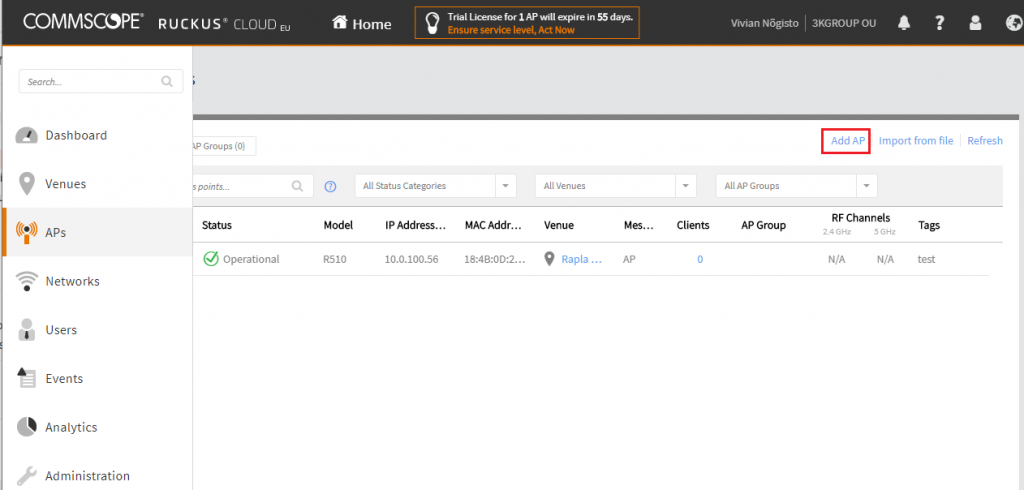
Once the Venue is done, the first Wi-Fi access point (AP) can be added by selecting the appropriate icon from the left edge. In your screenshot there has one already been added, but the key is to enter the device serial number. The device itself must be with factory settings (a device previously used with the controller needs to be reset to restore the original settings) and connected to Internet, we recommend to prepare it before the delivery to the desired location. When you finally install the AP to a new location, Cloud will be able to recognize it through Internet connection.
It will take some time, maybe up to half an hour, before the device is recognized in the Cloud and turns green. After clicking, you can see this status image:

Venue (location) done, Wi-Fi access point added, now you can configure the Wi-Fi network. Select 'Networks' from the left edge.
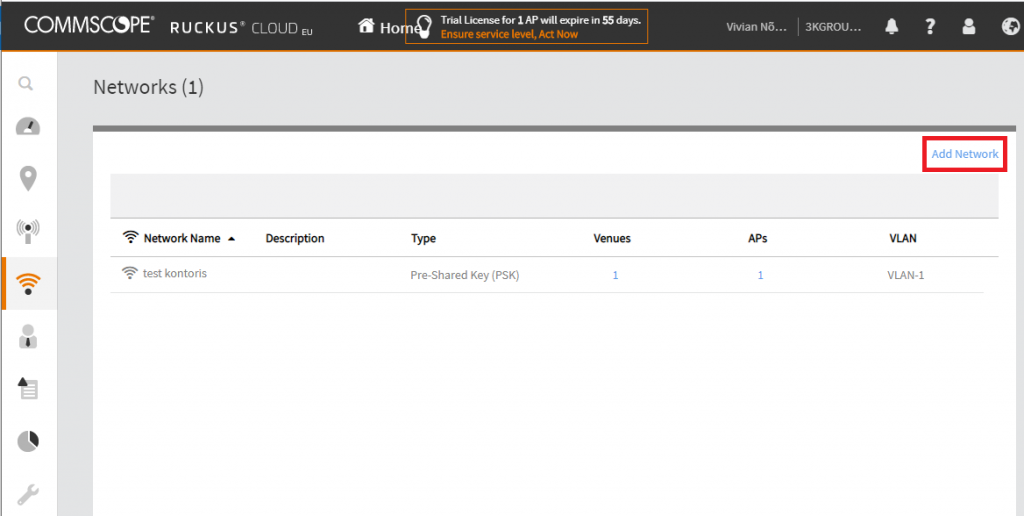
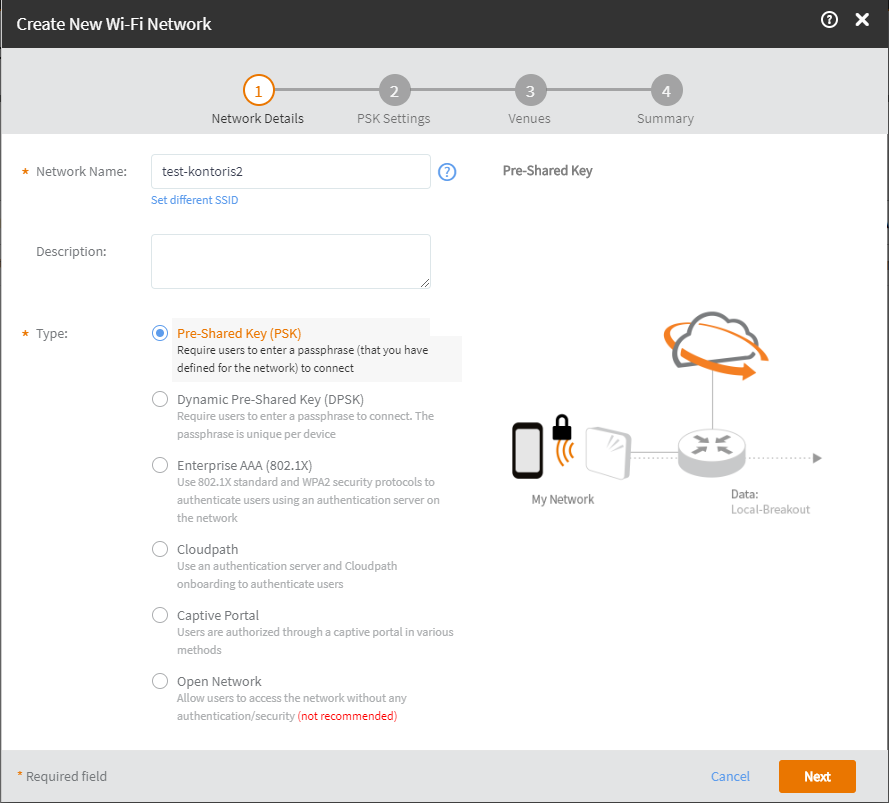
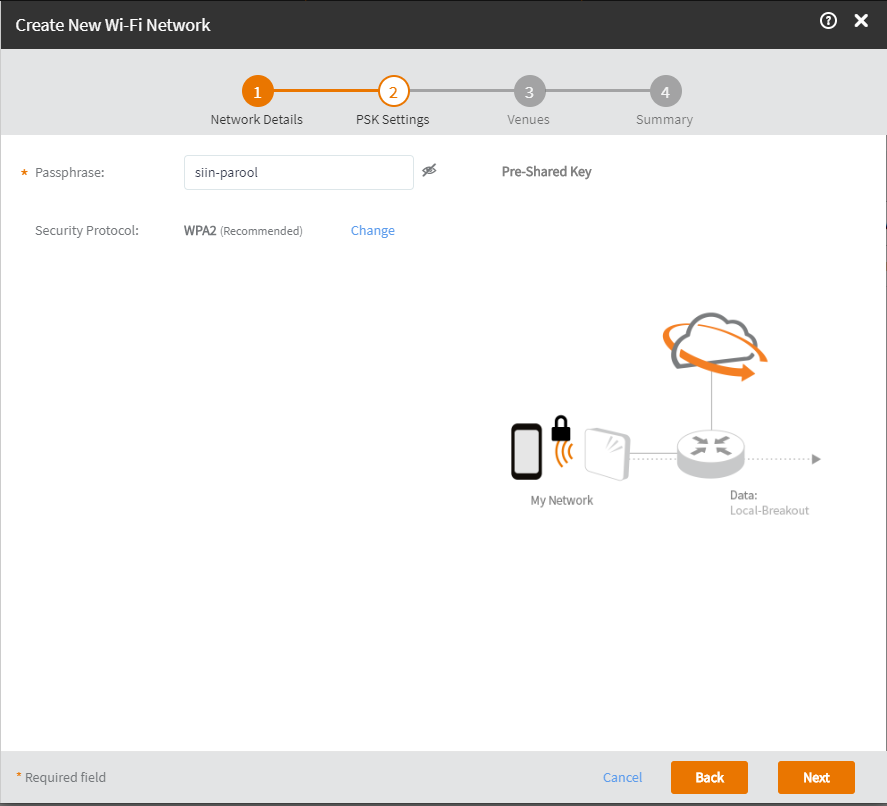
In the following example, we will select a typical Wi-Fi network with a password, but there are several options:
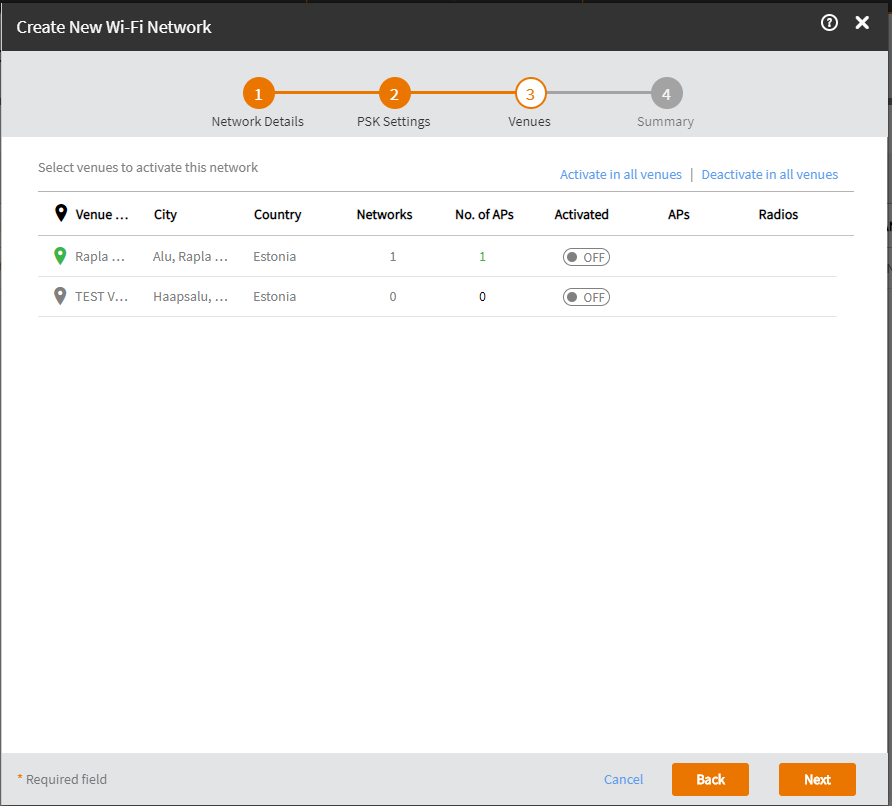
Here switch the button OFF> ON of the desired location, after which an additional question is asked at which frequencies (2.4 or 5Ghz) this network should be activated.
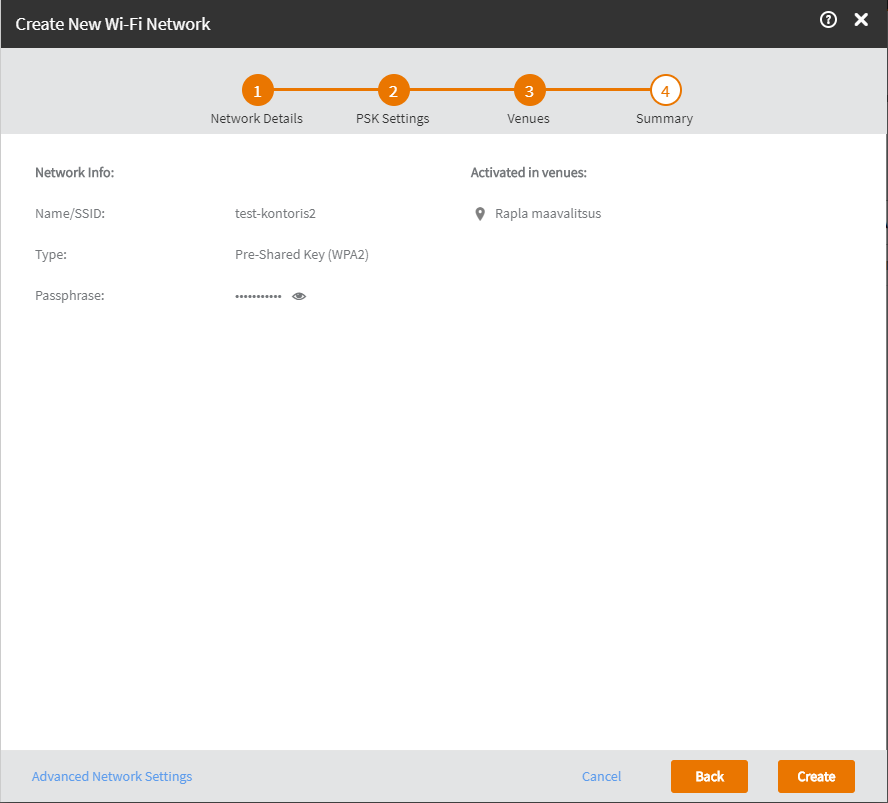
Finally et the end you reach 'Creating Network'. You can have several networks on one Venue.
Our AP is now ready to be deployed at the new location. In the APs section, it turns green when it connects to the network, and when you click on it, you can see usage statistics, connected clients, activated Wi-Fi networks and the AP log (Events).
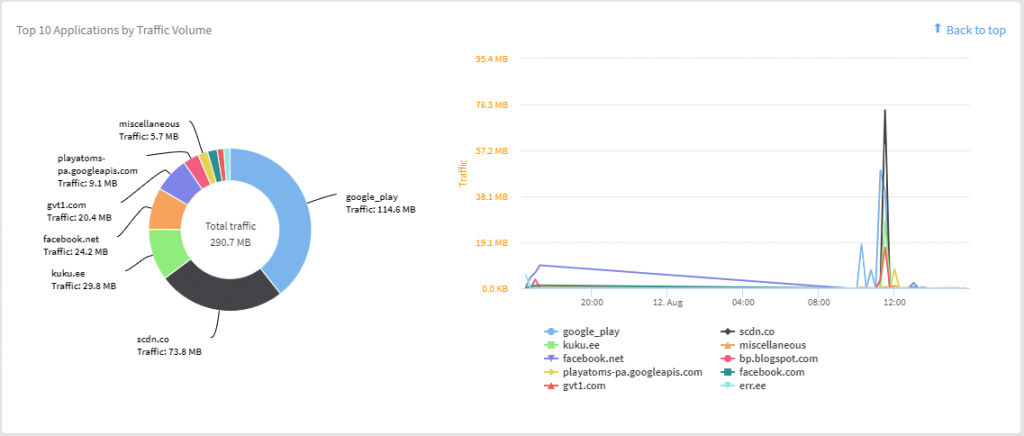
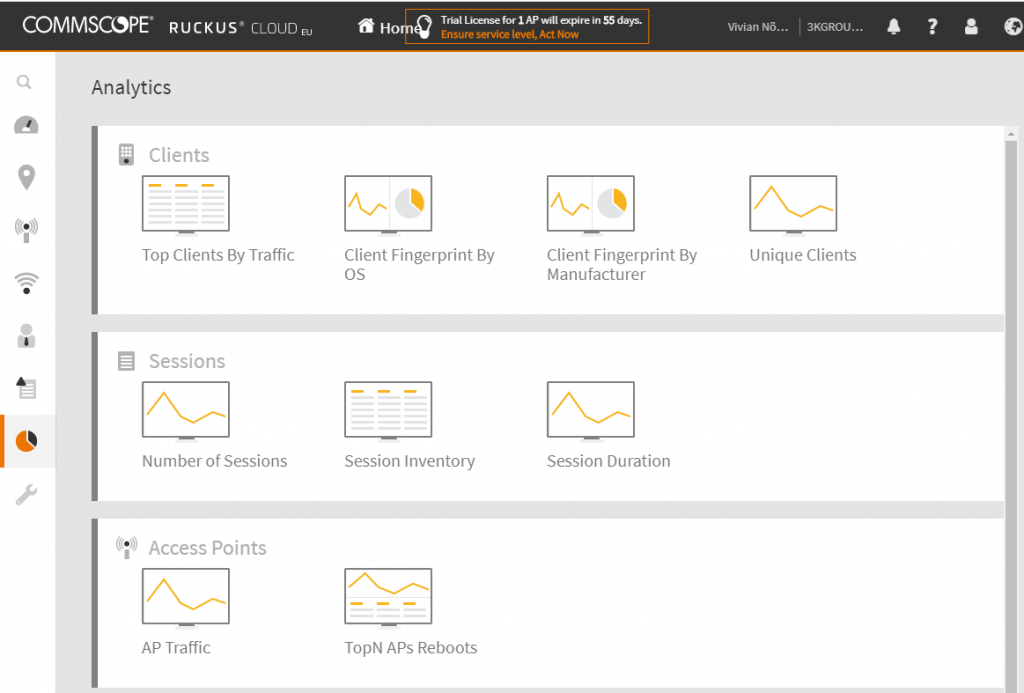
You can also find network traffic statistics, events, and clients in the 'Analytics' section on the left. You can choose to display information for up to 30 days, filter on locations, APs or users.


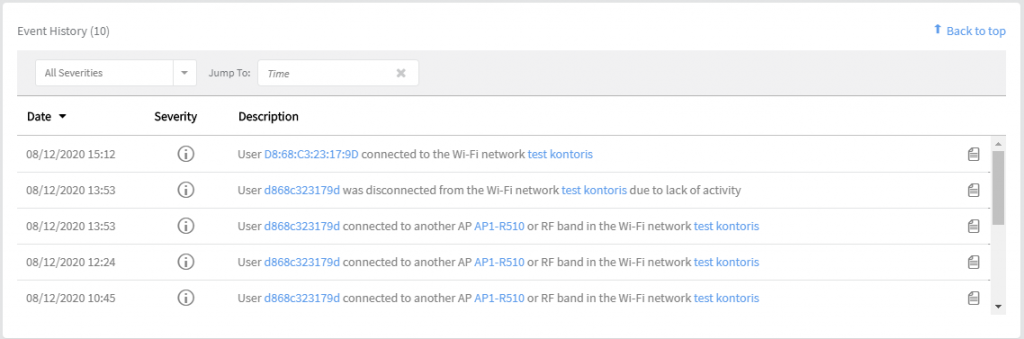
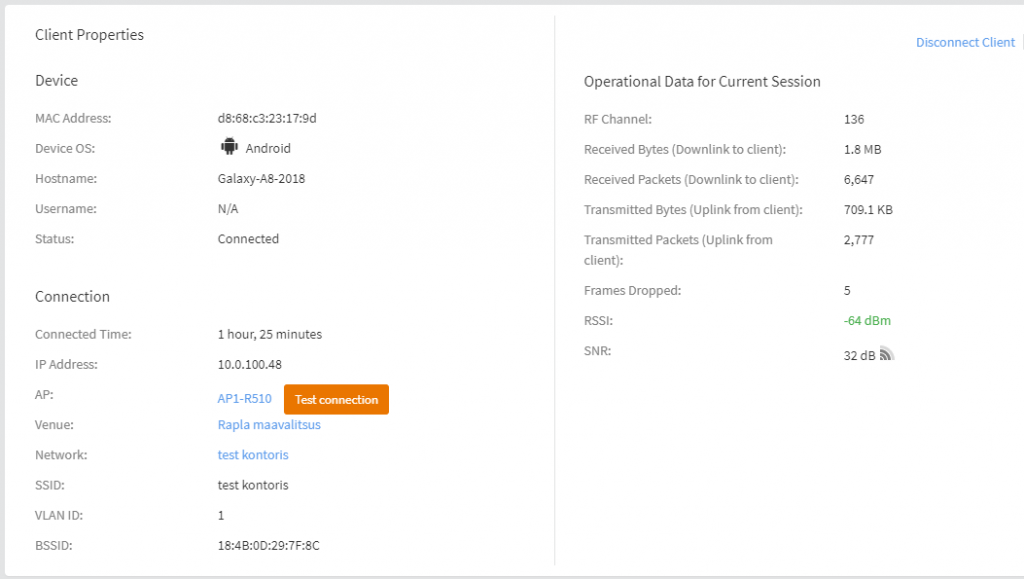
The best place to troubleshoot clients complains is the 'Users' section on the left, where you can select the user from the list and on the page that opens you can see his connection history with the reasons for disconnects:
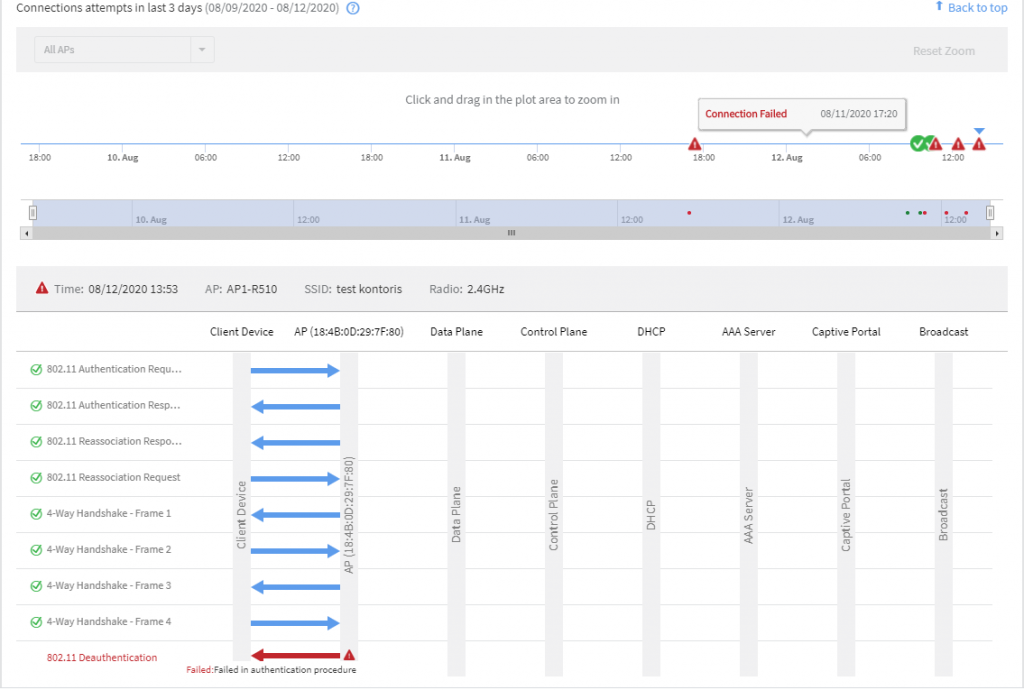
If this is not enough, you can also save traffic packets for later analysis under 'Test Connection':
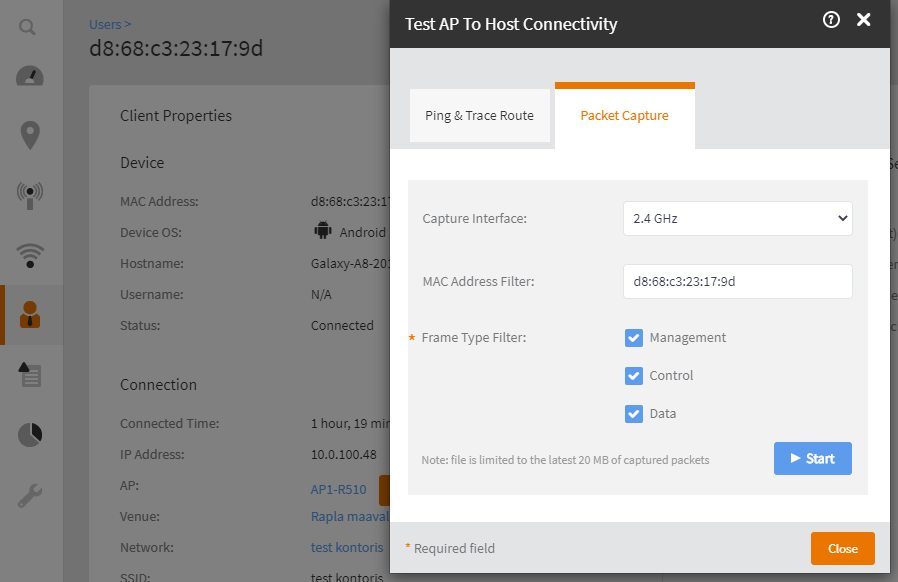
Traffic content can also be analyzed: